Tools:
- Phillips #00 Screwdriver
- T6 Torx Screwdriver
- Spudger or a Tweezer
- WD40
If you are near a Walmart I recommend you buy these items from them rather than order online and wait 7 days.
Walmart offers a Stanley set of screwdrivers that comes in a nifty kit so you need not worry about misplacing it.
You might also want to get compressed air to clean the dusty insides of your Mac and not think of unscrewing
unnecessary parts.

Now you will need to disassemble your portable. Most people will rate this as “difficult” but personally I think it is “easy if you are coordinated”. But if you are not comfortable seeing your portable like the one in the left then I suggest you go a different route such as have a trusty guy (better if he owns a Mac himself) to do it for you or send it to the nearest genius bar. Given the type of casing the 2007 model and earlier of MacBooks one of the things you may encounter when you open it up or even if you don't is the chipping on the sides or edges of the Mac's upper case. Usually this happens when your Mac stays in generally hot and humid environments. The continuous change in temperature will also cause your Mac's case to be brittle causing chipping on the edges. How to prevent it? Well I can't tell you to move but you can ensure that your Mac doesn't get exposed to too much heat. If the chipping is way too much distracting for you go ahead and order online for the top case with keyboard. Replacing the topcase is easy and usually costs $140.00; other than that, as soon as
you can afford to, upgrade to the lastest MacBook or MacBook Pro which is made of aluminum.
Now the step by step guide I will list below is mainly focused on cleaning your Mac's fan NOT replacing a defective fan or installing a fan. So have your tools ready and let's get started...
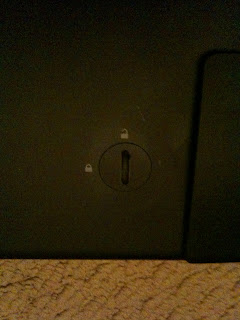
STEP 1:
Unplug your charger from your Mac.
Use a coin to rotate the battery screw 90 degrees and lift the battery out to remove it.
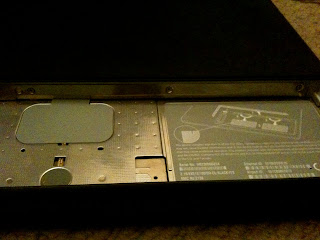
STEP 2:
Unscrew three evenly-spaced Phillips screws
along the rear wall of the battery compartment.
These screws are captive for the memory cover.
Remove the L-shaped memory cover so it clears the battery compartment
opening and lift it up and out of the computer.
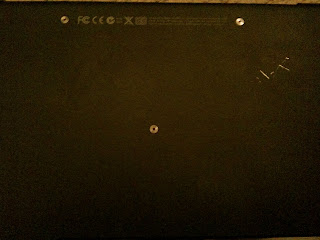
STEP 3:
Remove the following 3 screws:
~ One 11 mm Phillips in the middle of the case.
~ Two 14.5 mm Phillips at the upper part of the case.
✎ If the screws stick in the case, you can use a magnetized screwdriver to draw them out.
☝The shorter of the three screws goes in the middle.
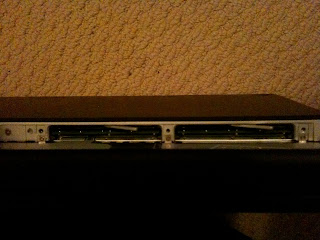
STEP 4:
Remove the following 3 screws from the rear wall of the battery compartment:
~ Two 3 mm Phillips.
~ One 4 mm Phillips on the right side.
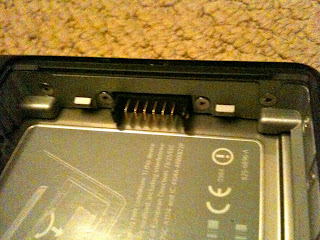
STEP 5:
Remove the two Phillips screws from either side of the right wall of the battery compartment (not the ones closest to the battery connector).
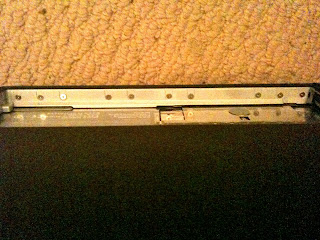
STEP 6:
Remove the four indicated Phillips screws from the front wall of the battery compartment. When working from the left, remove the 2nd, 4th, 7th and 9th screw.
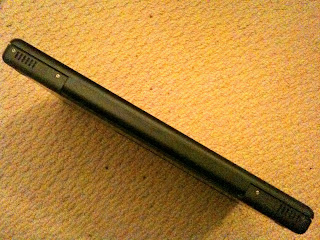
STEP 7:
Remove the following 4 screws from the back of the computer:
~ Two 7 mm Philips on the far sides.
~ Two 10.5 mm Phillips toward the center.
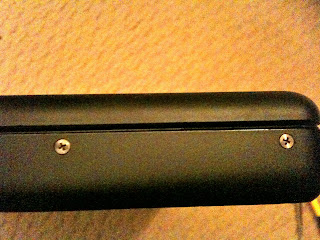
STEP 8:
Remove the two Phillips screws from the optical drive side of the computer.
☝It is not necessary to remove the similar screws on the other side of the computer.
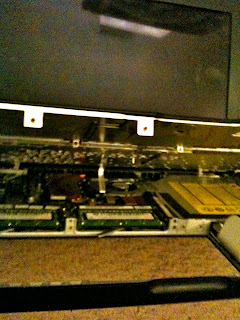
STEP 9:
☝ There's a trackpad and keyboard ribbon connecting the upper case to the logic board, so don't pull the upper case off entirely just yet.
Starting near the display and working around to the front of the computer, pry up on the upper case.
✎ The upper case is likely to stick at the connection above the optical drive. If this is the case first free all other sides, then proceed to pull upward on the upper case from either side of the optical drive opening.
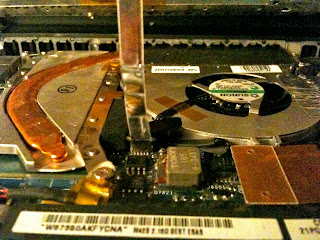
STEP 10:
While holding up the upper case, pull up the black tab of the silver cable away from its connector.
✎ If there is no black tab, you can also use a spudger to gently pry the connector from its housing. This connector is tall, so be sure to pry straight up.
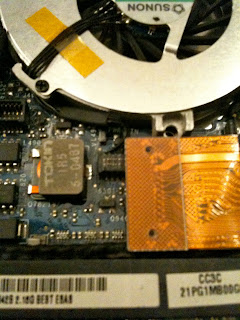
STEP 11:
☝In some MacBooks you have to use a spudger or tweezer to disconnect the orange optical drive cable from the
logic board before you can disconnect the black fan connector.
Use a spudger or tweezer to disconnect the black fan connector from the logic board.
✎ If you have a MacBook Core 2 Duo Santa Rosa/Penryn, the black fan connector resides in a different location.
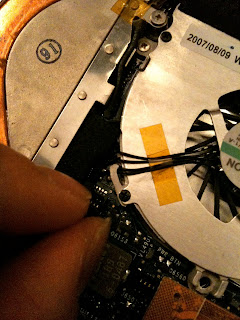
STEP 12:
Deroute the fan cable from behind the tab on the left side of the fan.
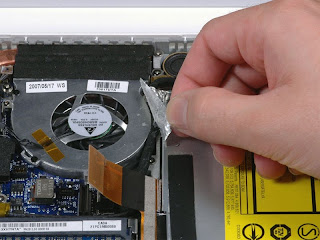
STEP 13:
Peel up the silver foil tape between the fan and the optical drive.
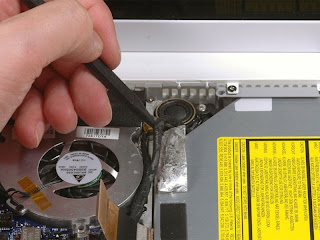
STEP 14:
Use a spudger/tweezer to move the gray display data and black speaker cables to the right. This will reveal a
silver screw securing the fan housing to the lower case.
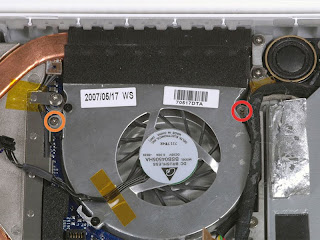
STEP 15:
Remove the following four screws:
~ Two black 3 mm Phillips on the upper left side and lower left of the fan.
~ One 3 mm Phillips on the right side of the fan.
~ One 6 mm Phillips on the left side of the fan.
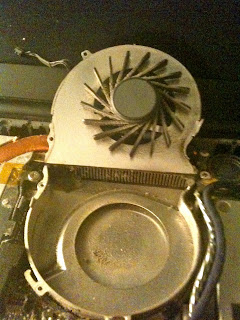
STEP 16:
Lift the fan being careful not to rip the black tape.
Now you can start cleaning the fan.
☝The fan's blades can easily break so make sure you wipe it careful better if you use a cotton tip swab and the compressed air.
☝If you notice one of the blades are cracked or slightly bent already it is best to remove that blade as it will cause noise later and may cause your other blades to wear out faster.
☝If most of the blades are broken/cracked/bent I would recommend replacing your fan.
✎ A replacement fan is worth $50.00 and a MacBook Santa Rosa/Penryn Fan is about $40.00.
Put a little WD 40 in your fan's rotor once you are done cleaning the blades.
STEP 17:
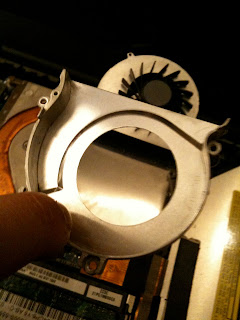
You can remove the bottom of the fan's case and use the compressed air to clean it up. If you tilt your MacBook a little you will see the vents inside, better if you clean this part as well to ensure that it is free from dust and make cooling of your MacBook's CPU easier for your fan.
Congratulations! You are able to open your Mac, clean it up, and hopefully none of your nerves got frayed. Hopefully you do not have trouble putting back the screws where they belong. I guarantee you though that cleaning your own Mac will give you a better appreciation of it after. : )
 Now, isn’t that a thing of beauty?


